If you run a WooCommerce store in India, generating GST-compliant invoices is not optional — it’s mandatory.
Many store owners manually create invoices in Excel or accounting software after every order. This wastes time, increases errors, and slows down order processing.
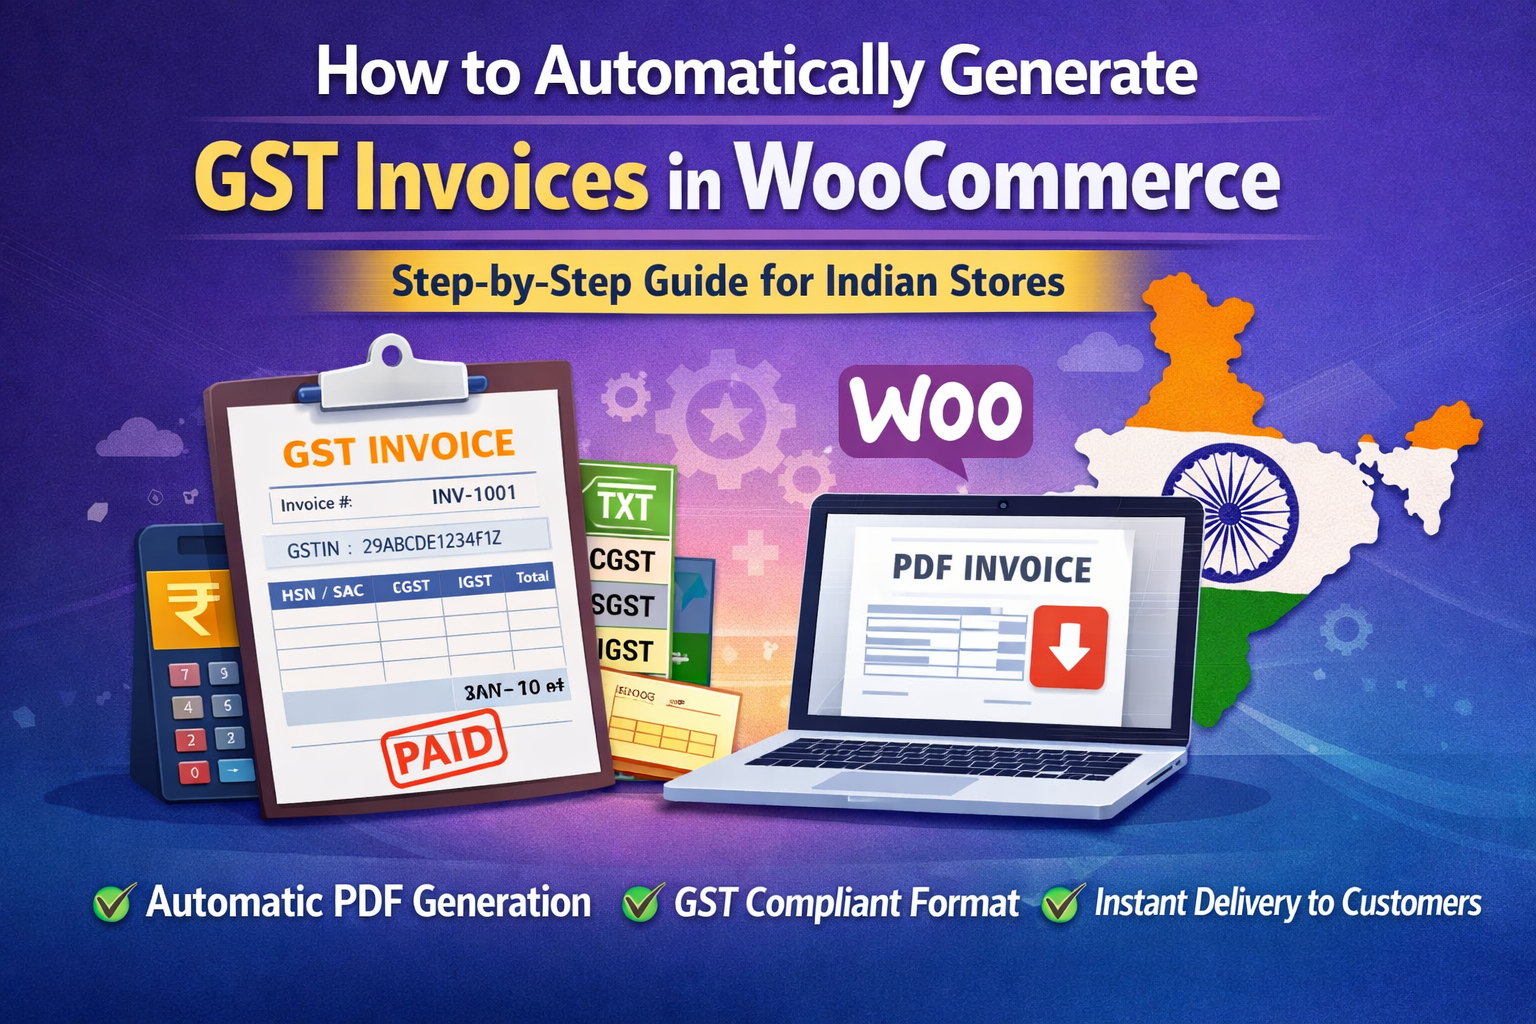
The good news? You can fully automate GST invoice generation in WooCommerce.
In this guide, I’ll show you:
- Why default WooCommerce invoices are not GST compliant
- What details a proper GST invoice must include
- How to automate invoice generation
- How to reduce compliance risk
Why Default WooCommerce Is Not Enough for GST
WooCommerce generates order details, not GST-compliant invoices.
A valid GST invoice in India must include:
- Seller GSTIN
- Buyer GSTIN (for B2B orders)
- HSN/SAC codes
- CGST / SGST or IGST breakup
- Invoice number (unique & sequential)
- Invoice date
- Place of supply
- Taxable value & total tax
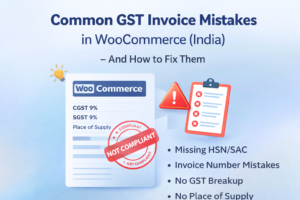
WooCommerce does not automatically format invoices as per Indian GST rules.
This creates problems like:
- Incorrect tax breakdown
- Missing HSN codes
- Non-sequential invoice numbers
- Manual invoice corrections
What Happens If You Don’t Automate?
Without automation:
- You manually create invoices
- You risk GST filing mismatches
- You spend hours reconciling orders
- You delay customer communication
As your order volume grows, manual invoicing becomes unsustainable.
Automation solves this permanently.
Step-by-Step: How to Automate GST Invoices in WooCommerce
Step 1: Install a GST Invoice Plugin
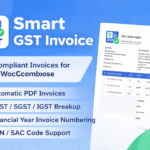
You need a plugin that:
- Generates invoice only after payment confirmation
- Assigns sequential invoice numbers
- Calculates GST properly
- Supports CGST / SGST / IGST logic
- Generates downloadable PDF
Once installed, the plugin integrates directly with WooCommerce orders.
Step 2: Configure Your GST Details
Inside plugin settings, add:
- Business Name
- GSTIN
- Business Address
- State Code
- HSN/SAC codes (per product category if needed)
This ensures every invoice includes correct statutory details.
Step 3: Configure Tax Logic
For Indian stores:
- Same state → CGST + SGST
- Different state → IGST
A proper GST plugin automatically detects this based on billing/shipping state.
Step 4: Auto-Generate Invoice on Completed Order
Best practice:
Generate invoice only when order status = Completed.
This ensures:
- Payment is confirmed
- Serial numbers (for digital products) are delivered
- Invoice data is final
Invoice number is assigned automatically and stored permanently.
Step 5: Enable PDF Download for Customers
Customers should be able to:
- Download invoice from My Account page
- Receive invoice link via email
- Re-download anytime
This reduces support queries like:
“Please send invoice copy.”
Benefits of Automated GST Invoice System
✅ Saves Time
No manual invoice creation.
✅ Prevents Errors
No wrong tax calculation.
✅ Ensures Compliance
Proper GST format every time.
✅ Improves Customer Trust
Professional branded invoice.
✅ Simplifies Accounting
Easy reconciliation with GST returns.
Common Mistakes to Avoid
Many store owners make these errors:
❌ Using generic invoice plugins not built for India
❌ Assigning invoice numbers manually
❌ Not separating B2B & B2C invoices
❌ Ignoring place of supply logic
❌ Sending invoice before payment confirmation
A proper automation system avoids all of these.
Who Should Automate GST Invoices?
You must automate if:
- You sell digital products
- You sell physical goods
- You process more than 5–10 orders daily
- You are GST registered
- You want proper accounting records
Even small stores benefit from automation.
Final Thoughts
GST compliance is not something you should manage manually.
WooCommerce gives you order management.
But GST compliance requires structured invoice automation.
If you’re serious about scaling your WooCommerce store in India, automating GST invoice generation is a necessary step.
The earlier you implement it, the fewer compliance issues you’ll face later.